Quality
Certification
ISO 9001
At Verbrugge, your satisfaction is our priority !
Certified quality
To guarantee its customers the highest quality, Verbrugge recently successfully renewed its ISO9001 certification, which defines the quality management system requirements for industrial production.
By choosing Verbrugge, you benefit from full traceability and the perfect repeatability of all your orders.
We have the capacity to meet the most demanding specifications.
Leading customers regularly confirm the excellence of our system through their audits.
Team up with us!
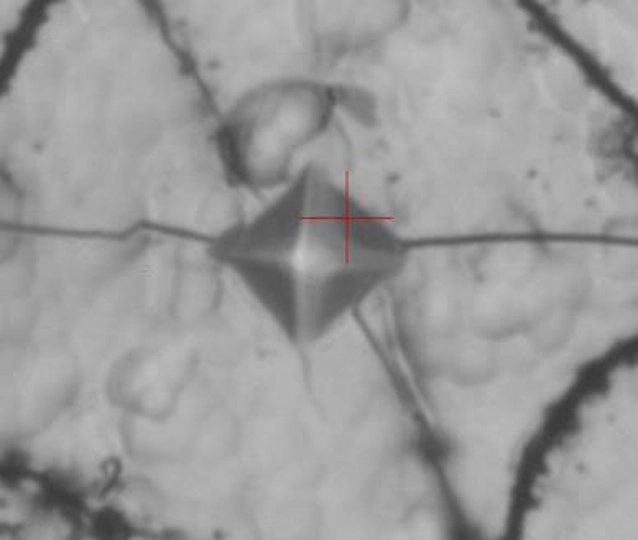
HARDNESS CHECKS USING A VICKERS LEITZ MICROHARDNESS TESTER
Hardness is the measurement of a material’s resistance to the penetration of a constant and regular force. Usually identified using a penetrating hardness tester, it is used to measure the size of the indentation diagonals following the drop of a load to determine the hardness.
The hardest material is diamond, so hard that it is used mainly as a penetration material (for Vickers hardness in Hv).
There are more or less direct relationships between hardness, mechanical strength and toughness. Usually, the harder the material, the greater its mechanical strength, but the more brittle it is.
A typical example is cast iron, which differs from steel by its critical carbon content that causes carbides to precipitate, making the material very strong but very brittle.
To conclude, the term “solidity” applied to a part cannot be linked to its hardness alone. Solidity is defined relative to the use to which it is put. The choice of a “solid” material is therefore always a compromise between hardness, mechanical strength and toughness, to which must be added resistance to corrosion, fatigue or creep, depending on the intended use.
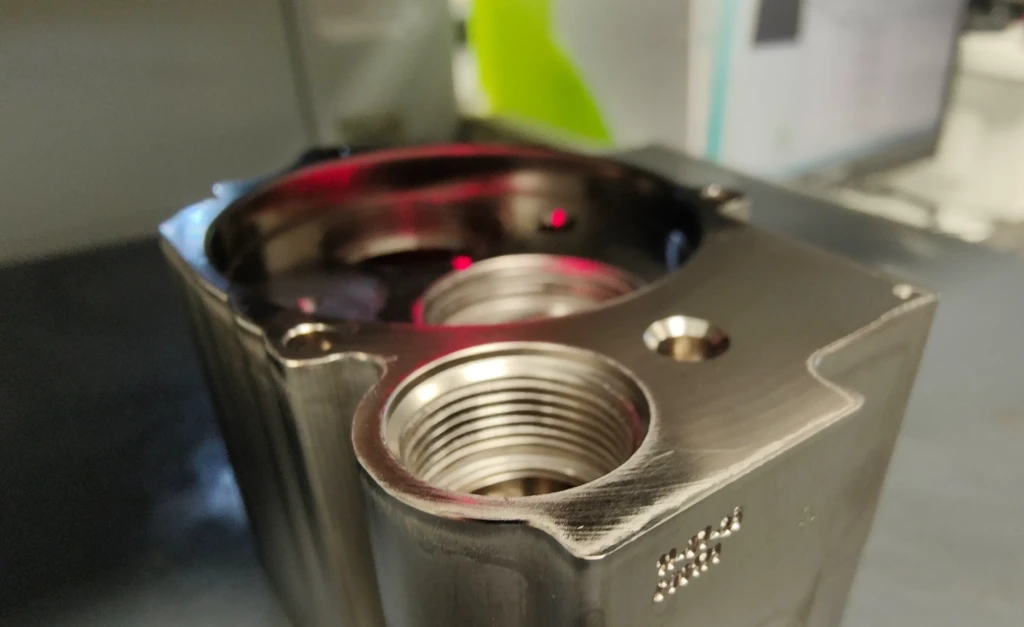
X-RAY FLUORESCENCE THICKNESS CHECKS
When a material is subjected to fluorescence, it emits energy in the form of X-rays: this is called X-ray fluorescence or secondary X-ray fluorescence.
The spectrum of rays emitted by the material is characteristic of the sample’s composition. This makes it possible to deduce its elementary composition, i.e. the concentrations by weight of elements, in order to determine its thickness to the nearest micron.
We use our knowledge to carry out thickness checks on nickel using X-ray fluorescence.
Characteristics:
-Thickness checking on coatings from 2μm to 30μm.
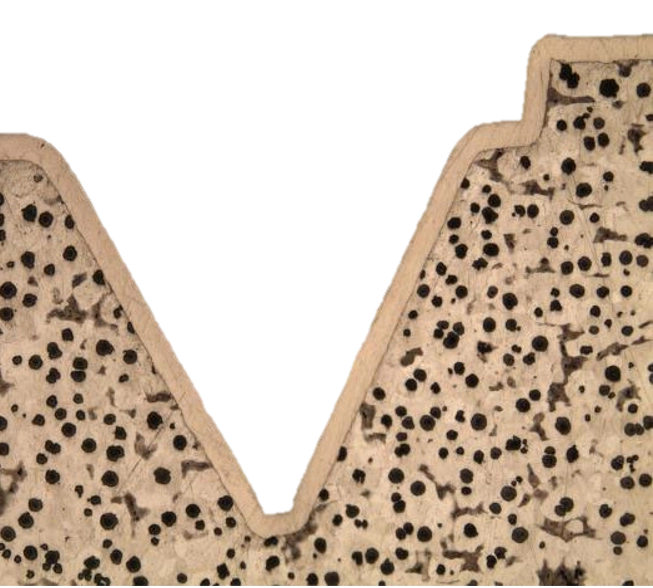
CROSS-SECTION EXAMINATION
Cross sections examinations are carried out on specimens. Placed in the bath, they accompany the parts through their various treatments and receive the same coating.
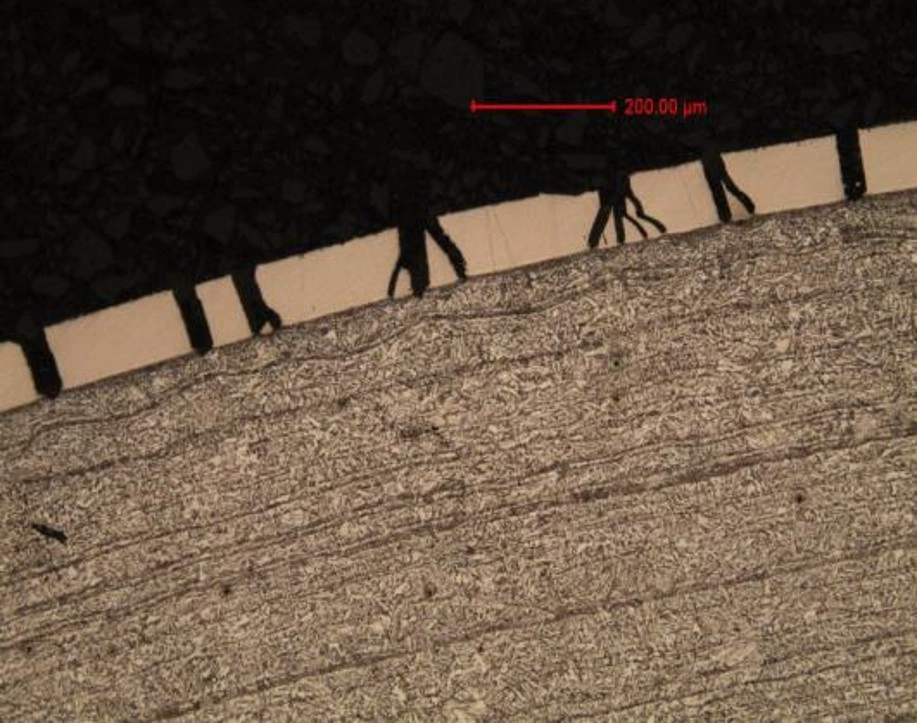
This is a destructive testing method carried out on a sample using an optical and electron microscope with appropriate magnification. The coating is highlighted by cutting a cross-section of the part.
At Verbrugge we can carry out cross section examinations of our deposits.
This type of check gives particularly rich results. It is used to measure the thickness of one or more layers (which can vary from one to several dozen micrometres) to obtain the necessary information on:
– Their consistency, micro-structural state, the presence of cracks, porosity and discontinuity.
– The roughness profile of the part and its deposit.
– The coating quality, particularly on sharp edges and corners.
– Failure mode(s) (view of the damaged surfaces, estimation of the depth of attack).
– The metallurgical health of the base material.
Characteristics:
– Structural checking of coatings from 2μm to 500μm.
ADHERENCE CHECK
Adherence is a critical parameter for many applications. This criterion has a major impact on the mechanical and tribological behaviour of the coating, as well as its long-term corrosion resistance.
Depending on the type of coating and its use, the adherence tests will be more or less severe. Generally speaking, the notion of coating adherence is not an intrinsic property. The checking techniques are essentially qualitative and adapted to the coating and surface treatment use conditions.
MAGNETISM CHECK
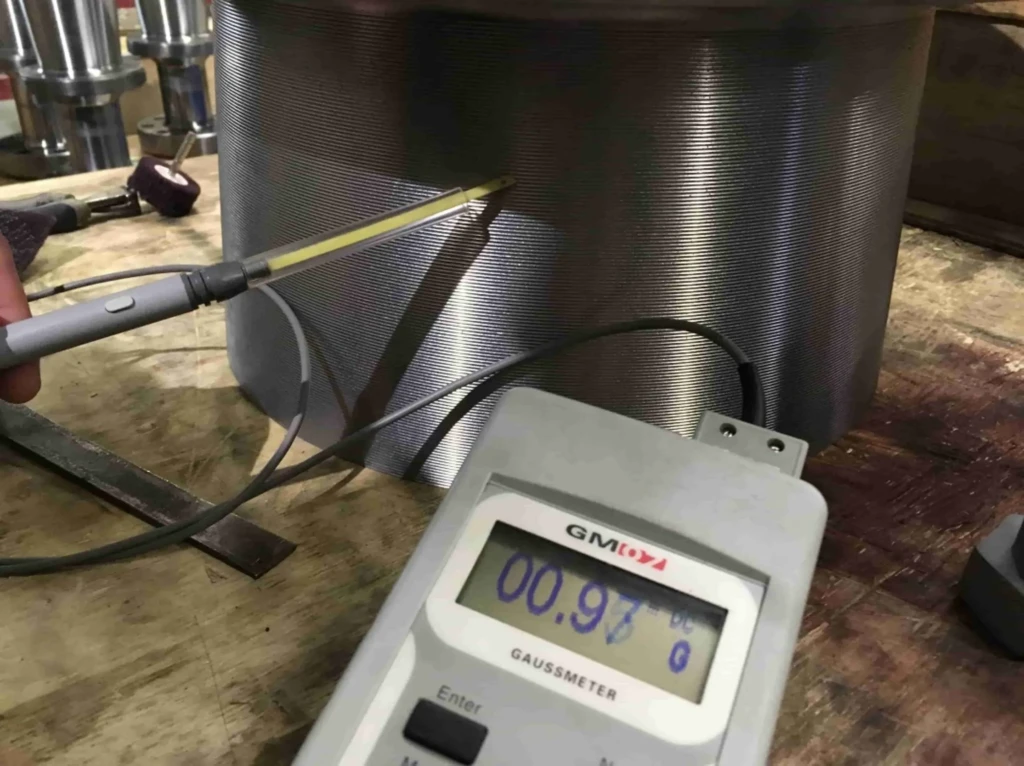
As its name suggests, magnetism checks detect the residual magnetism of your parts. Measurements are taken before treatment using a gaussmeter which is moved over the entire area of the part to be treated.
Parts with even a low residual magnetic force will not have an optimum quality surface coating. That is because the deposit will tend not to adhere properly and will pick up all the impurities in the baths.
WETTABILITY TEST
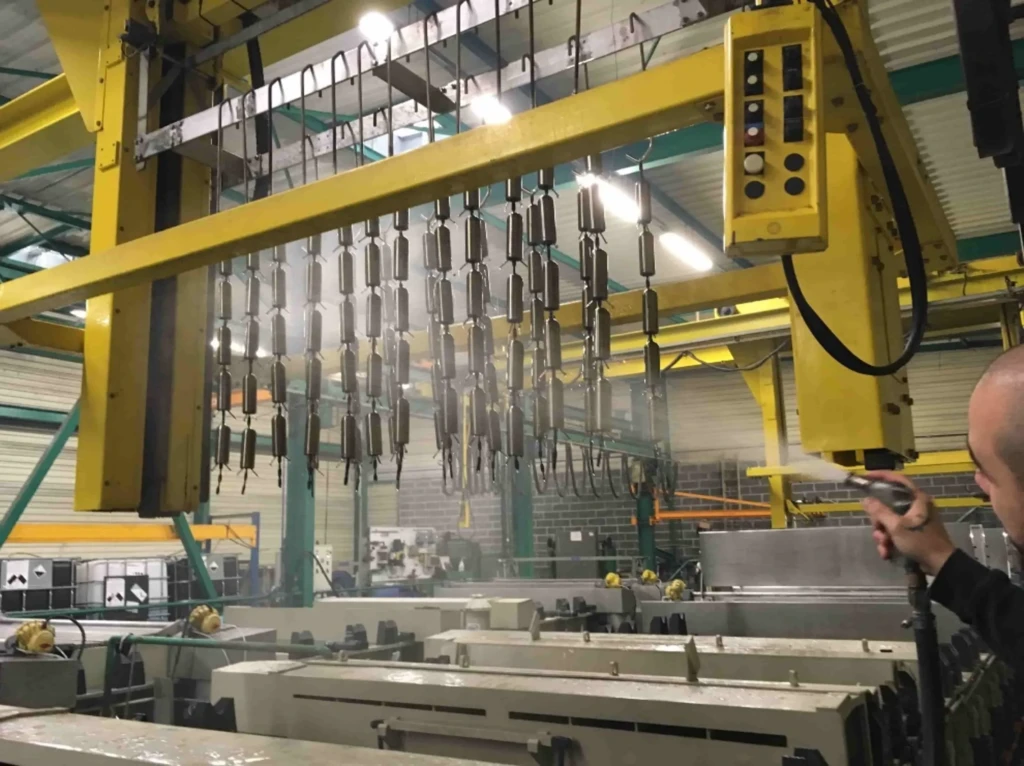
The wettability test is visual. In our case, it is used to test the cleanliness of a part before treating it.
On arrival at our factory (or after degreasing), we carry out a wettability test by observing the behaviour of a drop of a calibrated liquid placed on the surface of the part: the more it spreads, the greasier the part.
This test is carried out on the assumption that our customers use greases that are difficult to eliminate before our treatment.

